|
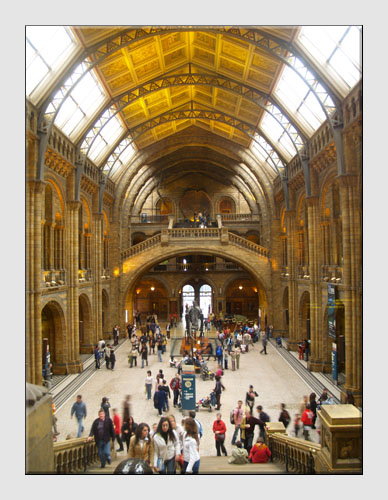
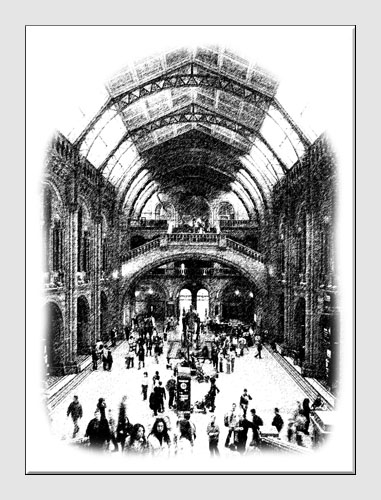
Artistic Images"The Next Level of Creativity"The digital era has enabled the creation of more artistic images than ever before. With its special filters and effects, imaging software provides the tools for anyone to apply their imagination and creativity to photography. Time was when the pictorial arts and professions were dominated by painters, or those with drawing skills, and a few photographers. Digital imaging has brought art and science together and has opened up the opportunity of new hobbies and careers for everyone. SITUATION - The Central Hall in London’s Natural History Museum. The photograph was taken at the end of an enjoyable visit to the Wildlife Photographer of the Year Exhibition. Although the result is satisfactory, it was felt that it could be made more interesting by applying some creative imaging.
If only the photographer had the skill to produce an artistic drawing. Steps taken using Photoshop Elements version 5 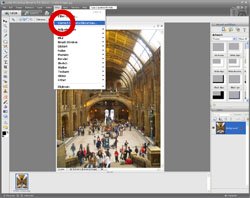
1 The first step in this example is to correct the image distortion and converging verticals caused by the camera position. With the image open in the Full Edit window, select Filter then Correct Camera Distortion... 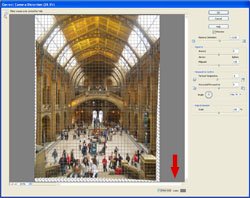
2 A new window will open with tools which enable a number of adjustments. Make sure that the Preview and Grid buttons are checked then adjust the sliders until the image is corrected. In this example the adjustments were RD=+5.00 VP=-8 HA=358.75 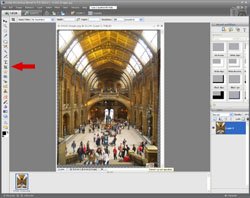
3 Having clicked OK to return to the edit window, use the Crop tool to select the section of the image to be retained. Before proceeding with the creation of an artistic image, it is a good idea to visualize the final result in our mind's eye and to consider how all parts of the original photograph might turn out. For a sketch, it is best not to have any areas that are so dark as to come out as an imposing black area. 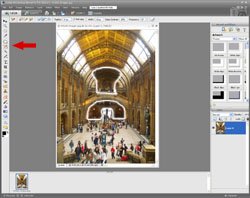
4 To lighten the darker parts of the image and reveal more detail, use one of the Lasso tools to select the central areas. Tip - To blend the selected part of the image with it's surroundings, set Feather (from the menus near the top) to 5px. 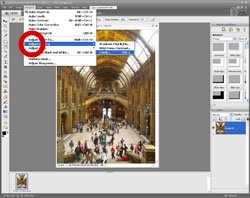
5 Then select the Levels... function from the Enhance/Adjust Lighting menu or by pressing Ctrl+l on the keyboard. 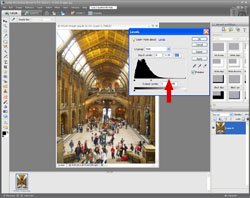
6 With Channel set to RGB and Preview checked, move the right hand slider of the Input Levels towards the left until the selected area is about the same brightness as the surrounding image. In this example the slider was moved from 255 to 165. 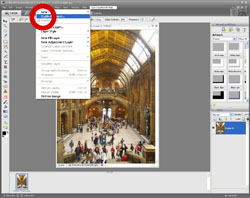
7 Having clicked OK to apply the new levels, the next step is to convert the image to monochrome. This is best done on a new layer so as to preserve the original. Select Duplicate Layer... from the Layer menu. 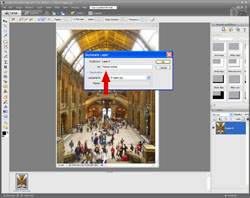
8 Enter a name for the new layer in place of the default name provided and click OK. Tip - Although the default name itself can be used, it is helpful to enter something more meaningful, especially when multiple layers build up in more advanced artistic images. 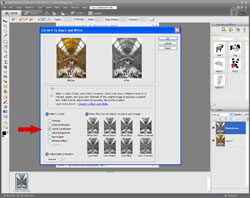
9 Select Convert to Black and White... from the Enhance menu. For a sketch, a good gradation of monochrome is needed so select the Scenic Landscape style then click OK to apply it. 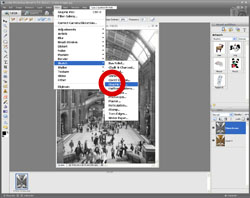
10 Now for the artistry. Select Graphic Pen... from the Filter/Sketch menu. There will be a slight pause whilst the image is converted. 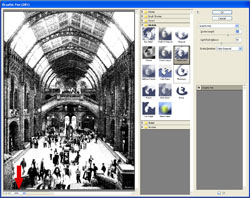
11 To see the whole image in this new window select Fit in View from the size options at the bottom left. Click OK to return to the edit window. 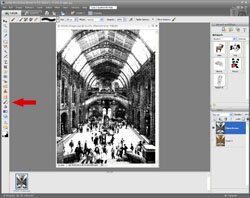
12 Finally, to create a softer border around the image, select the paint brush and chose a soft brush from the options at the top. For this image, white has been selected from the colour palette. 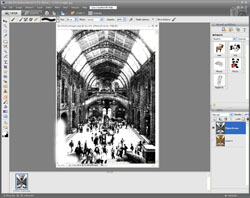
13 Adjust the brush size to a suitable width and paint around the border to leave the artistic image ready for printing and framing.
Remember to save the new image with a different name so as not to overwrite the original. Click here to add this page to your favorites in case you feel like creating artistic images again.
This example is just one of the many ways in which Photoshop Elements or similar software can be used to help you make better photographs. Return from Artistic Images to the Photo Editing page. |
 |
| Image of the Month |
 |
| Click here to download it. |
| Find It |

Custom Search
|
| All of the advice, tutorials, masterclasses and ideas on this website are available to you at no charge. Even so, its upkeep does incur costs. |
|
| If you feel that the site has helped you then any contribution you make, however small, would go towards its ongoing maintenance and development. Thanks for your help. |
| Book of the Month |
 |
| Click here to read the review. |
