|
A Picture Frame"Better than forgotten in an Album"Our better photographs deserve to be in a picture frame rather than hidden in an album and likely forgotten. Although a photo with a simple frame looks quite good, it can look even better with a border or mount around it. Apart from the standard plain ones which come with some frames, mounts are usually quite expensive and can be more than the cost of the frame itself if they are tailor made. An alternative is to design your own border and print it yourself. Most imaging software, including Photoshop, has border templates that can be used by following the instructions that come with them.
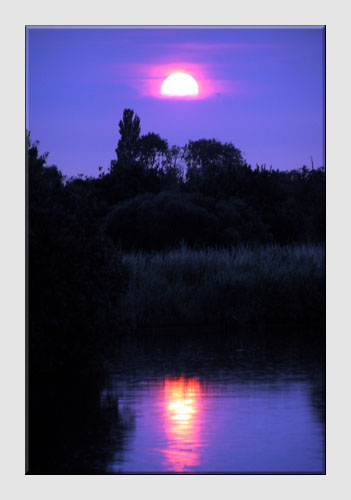
SITUATION - As the thunder storm passed in the early evening, the whole family enjoyed the rich colours of sunset from the boat on the Norfolk Broads.
If only we could find an inexpensive mount in the right colours to suit our photograph in its picture frame. Steps taken using Photoshop Elements version 5 Most photographic paper for use in a PC Photo Printer is available in standard sizes for which picture frames can easily be bought to match. To take advantage of this, the photograph in this example will be sized and printed to suit A4 (210mm x 297mm). Before designing the border, the image will be sized to allow for a 30mm border. 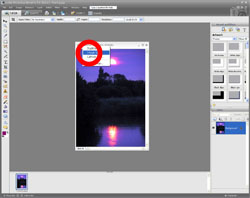
1 With the image opened in the 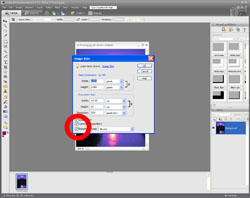
2 Ensure that all three boxes in the bottom left of the new window are checked then enter the Resolution as 300 pixels/inch. picture frame
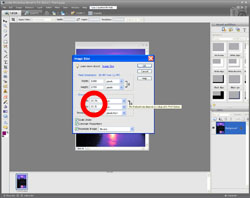
3 To achieve a 30mm border, enter 237mm for the image height (297-{30x2}). Providing the Constrain Proportions box is checked, the width will automatically adjust - 167.6 mm in this example. This is more than the 150mm needed to leave a 30mm border all around so adjustments will be made later on. 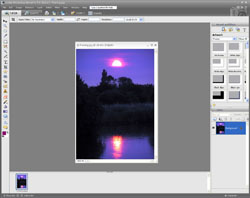
4 Click OK to return to the Edit window. picture frame
Borders do not have to be of equal size all around the image if cropping is not appropriate. In such circumstances, a larger gap at the bottom of the image is generally considered pleasing on the eye.
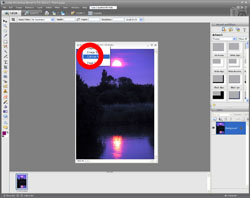
5 Position the mouse over the bar at the top of the image, right click the mouse then left click Canvas Size... in the window that appears. 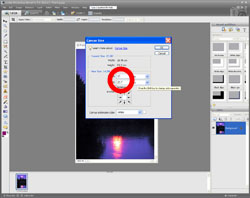
6 Ensure that the Relative box is not checked and enter 150mm for the image width. 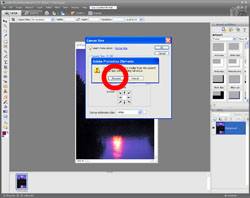
7 To ensure that a part of the image is not cropped accidentally, a warning window appears. In this example we want to crop the image so click Proceed. 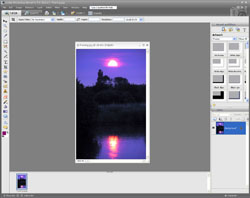
8 The image is now prepared for the creation of its border. Proceed by re-opening the Canvas Size window. (See step 5 above for a memory jogger.) picture frame
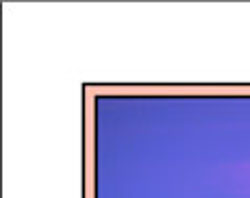
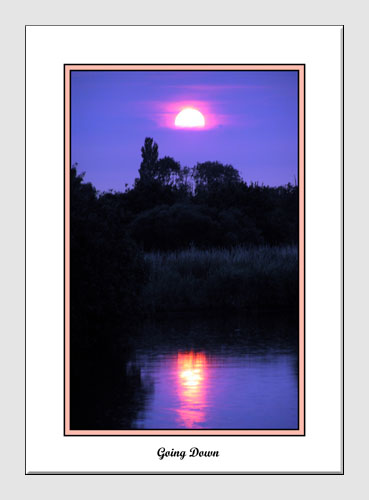
As a general rule it is advisable to keep the border fairly simple. The border is there to enhance the photograph but not to become the main focus of attention. For this photo, a small border surrounded by plain white will match the mood of the scene and the wall on which it will be hung. 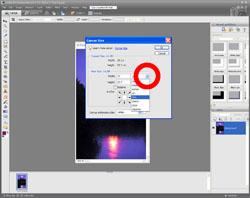
9 First add the 1 mm black line around the image. To do this select mm from the units drop list, check the Relative box to add to the current size, enter 2 into the width and height boxes (to add 1 mm on all sides of the image. 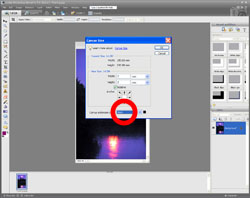
10 Select Black from the Canvas extension color drop list then click OK. picture frame
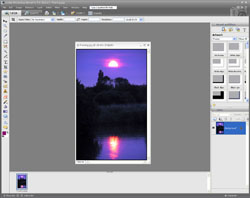
11 The next step adds the 3 mm colour line. The colour will be selected from the image itself. Re-open the Canvas Size window. 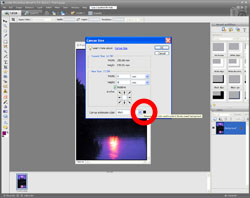
12 With the Relative box checked and 6 mm entered into the width and height boxes, click on the small square box to the right of the Canvas extension color window. It will be black if the prevous step was completed correctly. 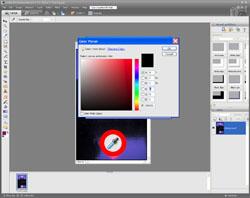
13 A new window will open displaying a palette of colours and some boxes labelled H,S,B etc. These can be ignored for this exercise. Position the mouse over the image (move the Color Picker window to one side if necessary) and the mouse arrow will change to an eye-dropper. 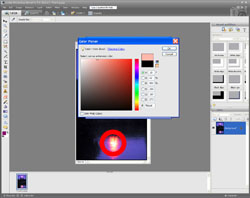
14 To contrast with the general colours of the scene, an area selected from the sun's reflection will be used as the sample colour for the border. Position the eye-dropper on a part of the reflection, click the mouse then click OK to close the Color Picker and Canvas Size windows. 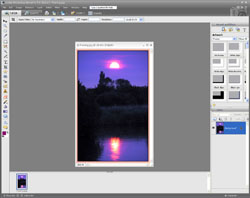
15 Now add the second 1 mm black line around the image as in step 9. picture frame
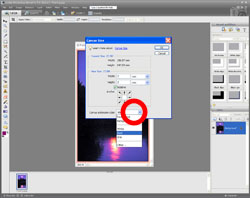
16 Remembering to change the colour back to Black! If this was overlooked, press Ctrl+z to undo the last step and repeat it. 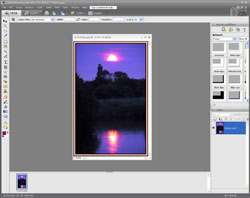
17 All that remains to complete the border is to add the white surround. Re-open the Canvas Size window. picture frame
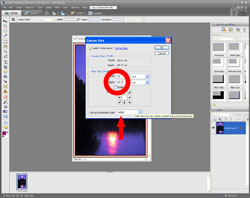
18 Uncheck the Relative box, enter the dimensions of the paper size - width = 210 mm height = 297 mm, select White as the Canvas extension color then click OK. To add a finishing touch, a name can be added. In this example the image is called "Going Down". 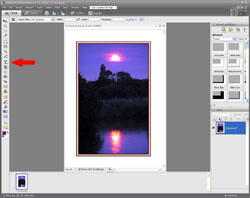
19 First select the Horizontal Type Tool from the left hand side or by pressing the letter t on the keyboard. picture frame
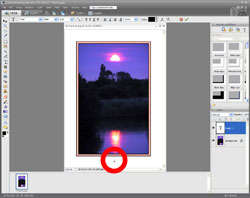
20 Select the desired font and size from the options at the top (similar to a word processor), then position the mouse over the place where the title is to appear on the border. Left click the mouse. 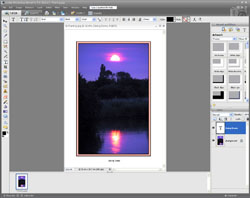
21 Finally, type the name and press Enter on the keyboard. Finished and ready for framing - a border to suit the photograph without the cost of a bought in mount.
Remember to save the new image with a different name so as not to overwrite the original. Click here to add this page to your favorites in case you need to create a personalized border again.
This example is just one of the many ways in which Photoshop Elements or similar software can be used to help you make better photographs. Return from Picture Frame to the Photo Editing page. |
 |
| Image of the Month |
 |
| Click here to download it. |
| Find It |

Custom Search
|
| All of the advice, tutorials, masterclasses and ideas on this website are available to you at no charge. Even so, its upkeep does incur costs. |
|
| If you feel that the site has helped you then any contribution you make, however small, would go towards its ongoing maintenance and development. Thanks for your help. |
| Book of the Month |
 |
| Click here to read the review. |
