|
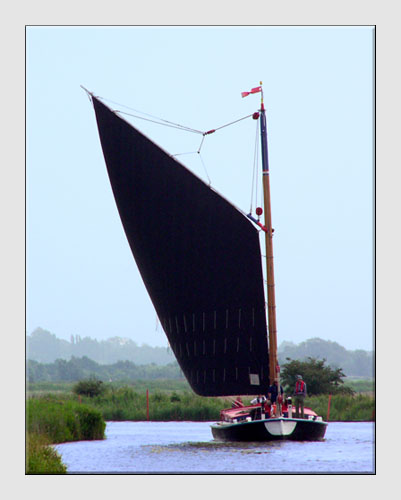
Depth of Field"Bringing Out the Best in the Picture"The correct depth of field for a photograph is one of the most important factors in determining a "winning" shot. It varies from scene to scene and calculating the correct aperture to achieve it requires a combination of time and experience. Even the most experienced photographers sometimes find themselves in a situation where they have to grab the camera quickly and shoot. Only when they have captured the photograph do they find that the aperture should have been different to isolate the subject from its surroundings, yet keep it sharp. Although not as good as the camera, imaging software can help by emulating the effect of depth of field. SITUATION - A Wherry, one of the few remaining on the Norfolk Broads. The photograph was taken from a moving boat on what must have been the only sunny day in July 2004. There was not much time for planning the shot - it was a case of “quick, grab the camera” before the sail comes around.
If only -
Steps taken using Photoshop Elements version 5 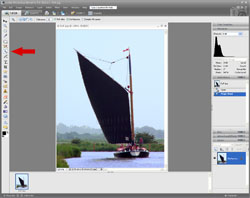
1 With the image open in the Full Edit window, select the Magic Wand tool with a Tolerance of about 30 and with Anti-alias and Contiguous checked. Click on the sail to select it and add any areas which should be included in the selection. 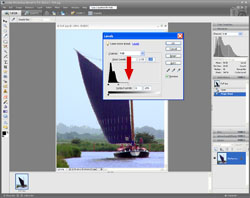
2 To lighten the sail and reveal more detail, select Levels by pressing Ctrl+l on the keyboard. With Channel set to RGB and Preview checked, move the right hand slider of the Input Levels towards the left until the detail in the sail is revealed then click OK. The next stage is to isolate the foreground and background and to give them a slight blur as if out of focus in the camera. 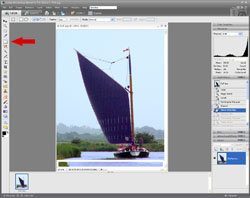
3 Using the Rectangular Marquee Tool with Feather set to about 1% of the image height, select the area of the foreground right across the image in front of the boat. Feather is used here to provide a gradual effect of the blurring applied later on. 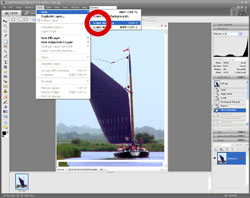
4 To isolate this part of the image for blurring, create a new layer using Layer via Copy from the Layer/New menu. 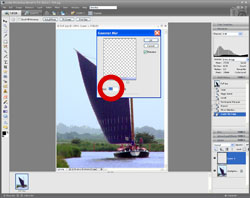
5 Select Gaussian Blur... from the Filter/Blur menu and adjust the Radius slider to a point where its effect looks about right. (Make sure that the Preview box is checked.) 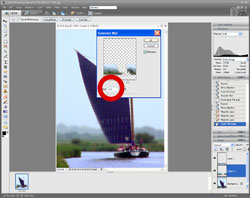
6 Repeat steps 4 and 5 for the area behind the boat, remembering to deselect the boat itself using the Magnetic Lasso tool. As the area behind the boat is much further away, use more blur than for the foreground. 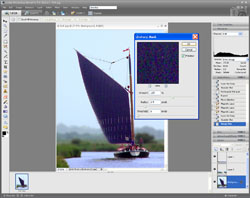
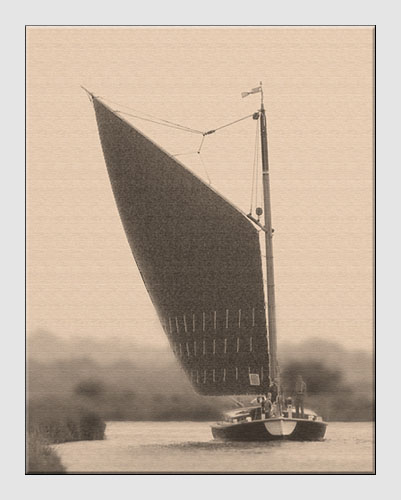
7 To make the boat stand out a little more, select the Background layer and then use Unsharp Mask... from the Enhance menu. Experiment with the Amount and Radius settings but don't overdo it. The image now looks more striking, as if shot with a narrower depth of field, and is ready for printing. As this is a historical boat, it might look good printed in sepia. The following steps explain one of the ways this can be achieved. 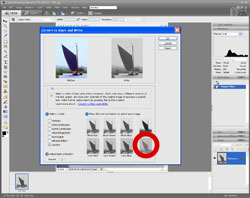
8 Combine all the layers using Layer/Flatten Image then select Convert to Black and White... from the Enhance munu. Click Less Contrast to give good gradation of tones when the image is converted to sepia then click OK. 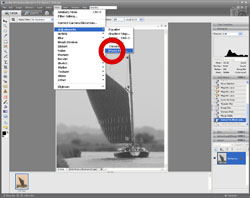
9 Select Photo Filter... from the Filter/Adjustments menu. 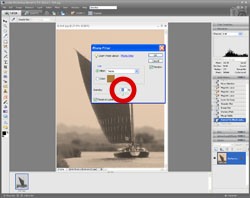
10 Select Sepia from the Filter drop list and adjust the Density slider to an appealing level of colouration. (Ensure that the Preview and Preserve Luminosity boxes are checked.) 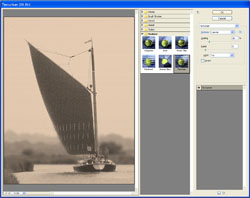
11Finally, for just a bit more effect, the picture can be made to appear as though it is printed on canvas. Select Texturizer from the Filter/Texture menu. Apply Canvas from the Texture drop list and adjust the sliders. In this example Scaling=80% Relief=5 and Light=Top
Remember to save the new image with a different name so as not to overwrite the original. Click here to add this page to your favorites in case you need to create more depth of field again.
This example is just one of the many ways in which Photoshop Elements or similar software can be used to help you make better photographs. Return from Depth of Field to the Photo Editing page. |
 |
| Image of the Month |
 |
| Click here to download it. |
| Find It |

Custom Search
|
| All of the advice, tutorials, masterclasses and ideas on this website are available to you at no charge. Even so, its upkeep does incur costs. |
|
| If you feel that the site has helped you then any contribution you make, however small, would go towards its ongoing maintenance and development. Thanks for your help. |
| Book of the Month |
 |
| Click here to read the review. |
