|
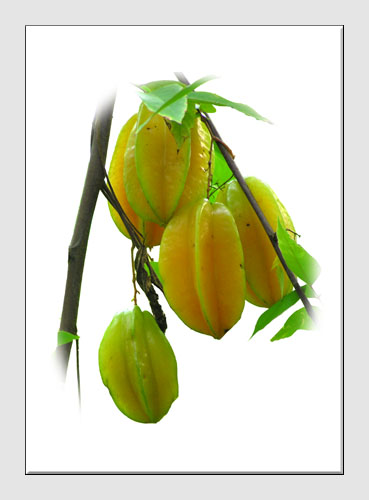
Image Extraction"Isolating the Subject"There are several uses for image extraction including ... removal of unwanted background ... isolation of a subject ... blending of burnt out areas ... creative design ... and many more. Whatever the purpose, it can be one of the most fiddly exercises in imaging BUT the results it produces can be amongst the most rewarding. With practice, it soon becomes easier and it is a very useful and powerful skill to develop. The techniques used in the following example will lead you to recognize numerous ways in which they can be applied to help you make better photographs. SITUATION - A Botanical Study chosen for a print collection and photographed at the Eden Project. One of many unusual plants now displayed at this famous centre in a disused China Clay pit near St Austell in Cornwall, England. The distance from the viewing position to the subject required the use of a telephoto lens.
If only private viewing had been possible so that a close macro lens could have been used with a white background and a tripod set up. Steps taken using Photoshop Elements version 5 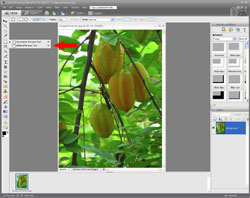
1 With the image open in the Full Edit window, select the Elliptical Marquee Tool from the left hand side. (It shares the same button as the Rectangular Marquee Tool and can be found by positioning the mouse over the tool button then pressing and holding down the left mouse button.) 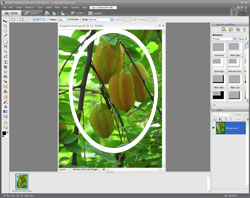
2 In this example an oval shape will be used for the final image. Position the mouse over the image, hold down the left mouse button and drag the Elliptical Marquee Tool across the image then release the button so as to leave the desired ellipse. 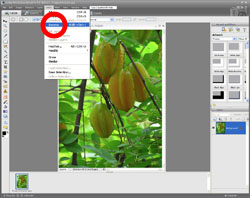
3 To remove the unwanted area outside the oval, select Inverse from the Select menu. image extraction
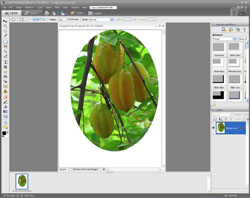
4 Then press the Delete key on the keyboard to complete the operation. 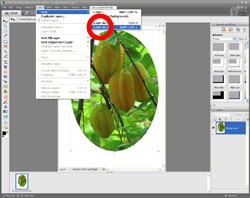
5 The next step is to create a new layer by selecting Layer via Cut from the Layer/New menu. This will enable the repositioning of the oval to the centre of the frame against the white background. 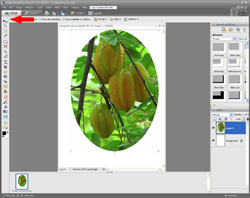
6 There are several ways to move an image, one is by selecting the Move Tool from the left hand side or by pressing the character v on the keyboard. 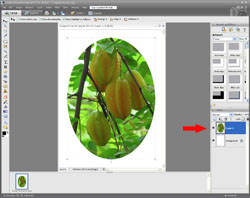
7 Check that the new layer is selected by clicking it in the Layers palette then position the mouse over the image, hold down the left mouse button, drag it to the centre of the frame then release. Next, the fiddly stage which tests dexterity and patience. This is rewarded by stunning results which are well worth the effort. The purpose of the next two steps is to trace out the parts of the image that are to be extracted. 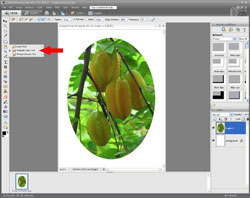
8 Select the Magnetic Lasso Tool which is to be found by pressing and holding down the left mouse button over the Lasso Tool on the left hand side. image extraction
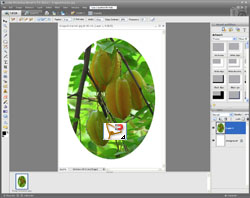
9 By moving the mouse, position the bottom left hand corner of the tool over a point in the image where tracing is to begin and left click the mouse once. Draw the mouse right around a section to be extracted then left double click the mouse. 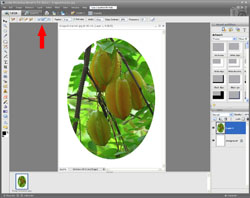
10 If the trace line that is revealed is exactly as desired on the first attempt - BRILLIANT. Very few people achieve this! Sections can be added or subtracted by using the buttons indicated from the menu at the top or press Esc to start all over again. 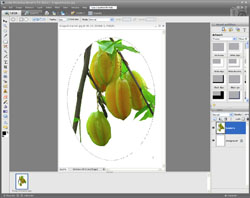
11 Once the desired area for image extraction has been selected, this will almost certainly take practice, inverse the selection then press Delete on the keyboard to reveal the result. The remaining steps are not essential but they will remove the harsh edges from the image and use a technique which has applications in other imaging situations. 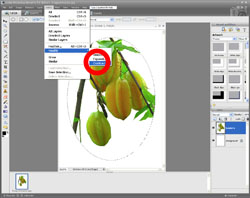
12 Select the oval of the new layer (using the Elliptical Marquee Tool if necessary) than select Contract... from the Select/Modify menu. 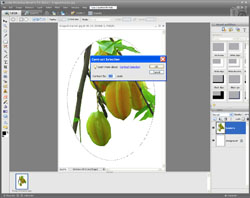
13 Enter the number of pixels by which the selection is to be reduced. This image is 2000 pixels high so 100 was entered. 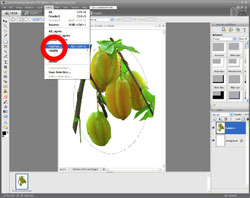
14 Select Feather from the Select menu then enter a number which is half the amount used in step 13. image extraction
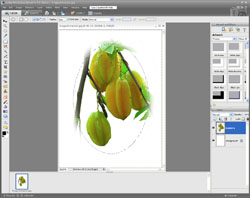
15 The result is a subject which fades at the edges into the white background. Perhaps an improvement - it's a matter of personal choice.
Remember to save the new image with a different name so as not to overwrite the original. Click here to add this page to your favorites in case you need to perform image extraction border again.
This example is just one of the many ways in which Photoshop Elements or similar software can be used to help you make better photographs. Return from Image Extraction to the Photo Editing page. |
 |
| Image of the Month |
 |
| Click here to download it. |
| Find It |

Custom Search
|
| All of the advice, tutorials, masterclasses and ideas on this website are available to you at no charge. Even so, its upkeep does incur costs. |
|
| If you feel that the site has helped you then any contribution you make, however small, would go towards its ongoing maintenance and development. Thanks for your help. |
| Book of the Month |
 |
| Click here to read the review. |

